Using the UI
For most use cases, the user interface is the easiest way to use Krill. Creating a CA, connecting to a Regional or National Internet Registry parent and publication server, as well as managing ROAs can all be done from the UI.
You can access the user interface in a browser on the server running Krill at
https://localhost:3000. By default, Krill generates a self-signed TLS
certificate, so you will have to accept the security warning that your browser
will give you.
If you want to access the UI from a different computer, you can either set up a reverse proxy on your server running Krill, or set up local port forwarding with SSH from your computer, for example:
ssh -L 3000:localhost:3000 user@krillserver.example.net
Initial Setup
The first screen will ask you for the secret token you configured for Krill.
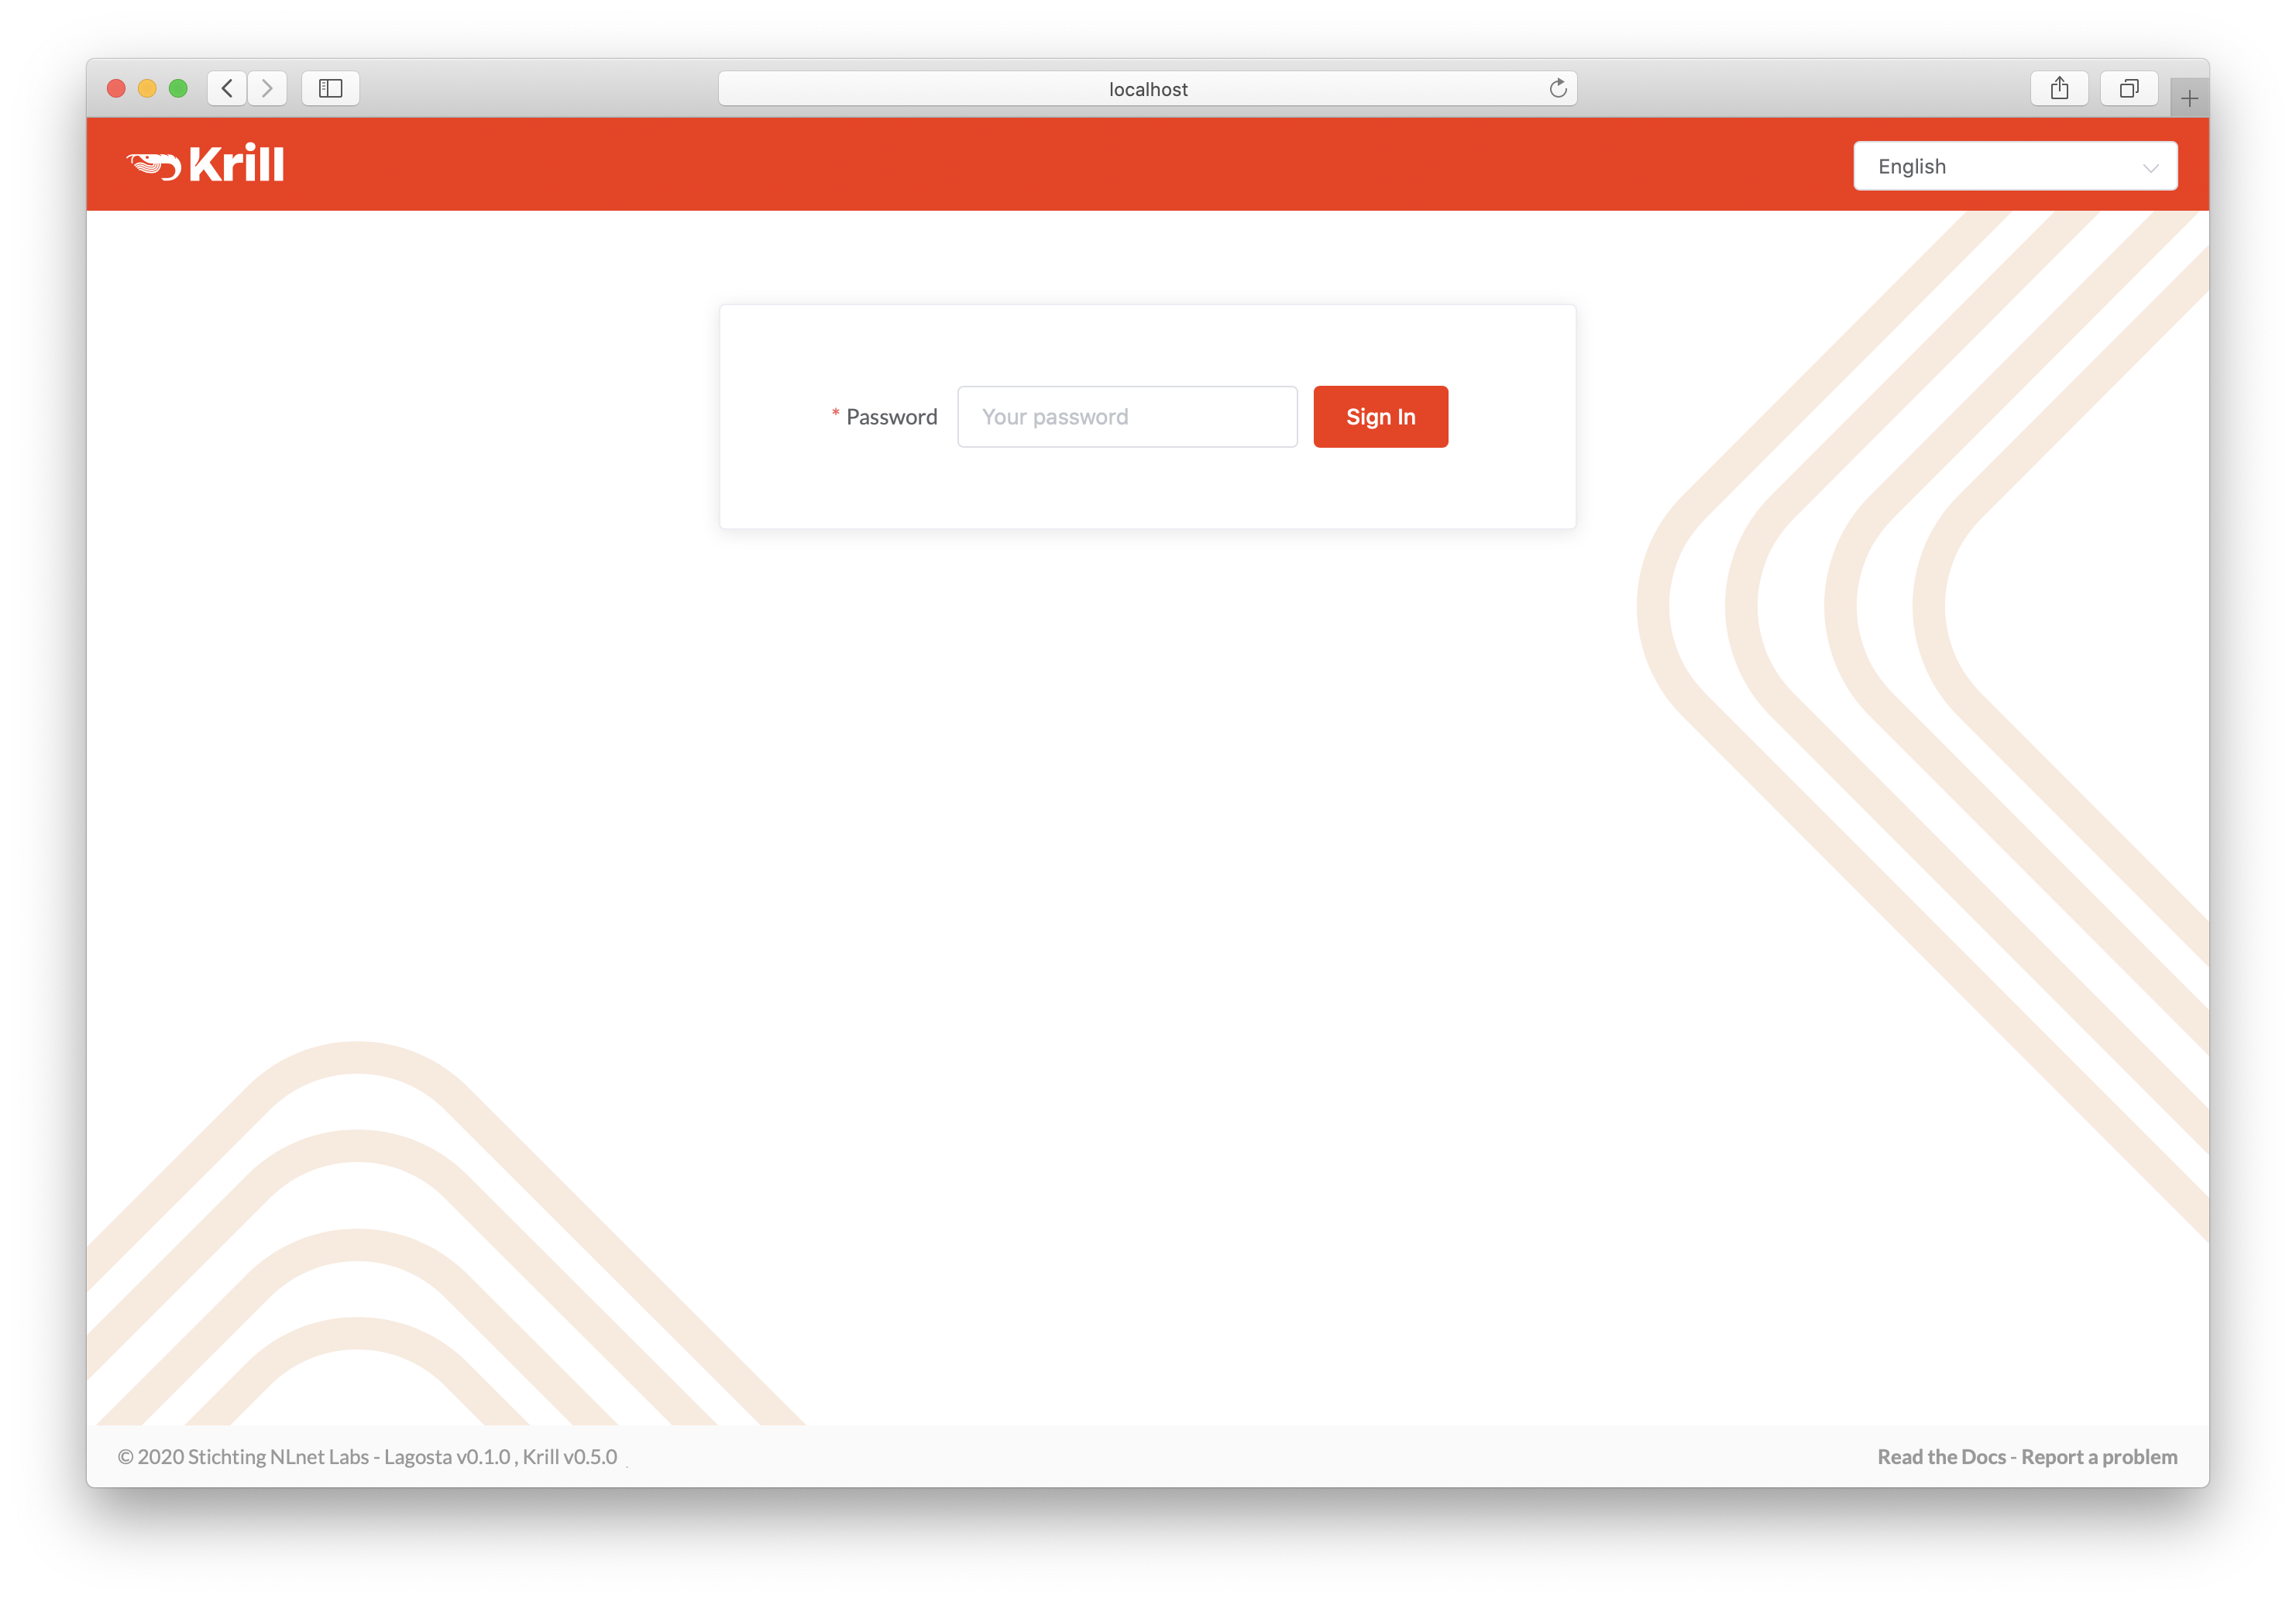
図 13 Enter your secret token to access Krill
Next, you will see the Welcome screen where you can create your Certificate Authority. It will be used to configure delegated RPKI with one or multiple parent CAs, usually your Regional or National Internet Registry.
The handle you select is not published in the RPKI but used as identification to parent and child CAs you interact with. Please choose a handle that helps others recognise your organisation. Once set, the handle cannot be changed.
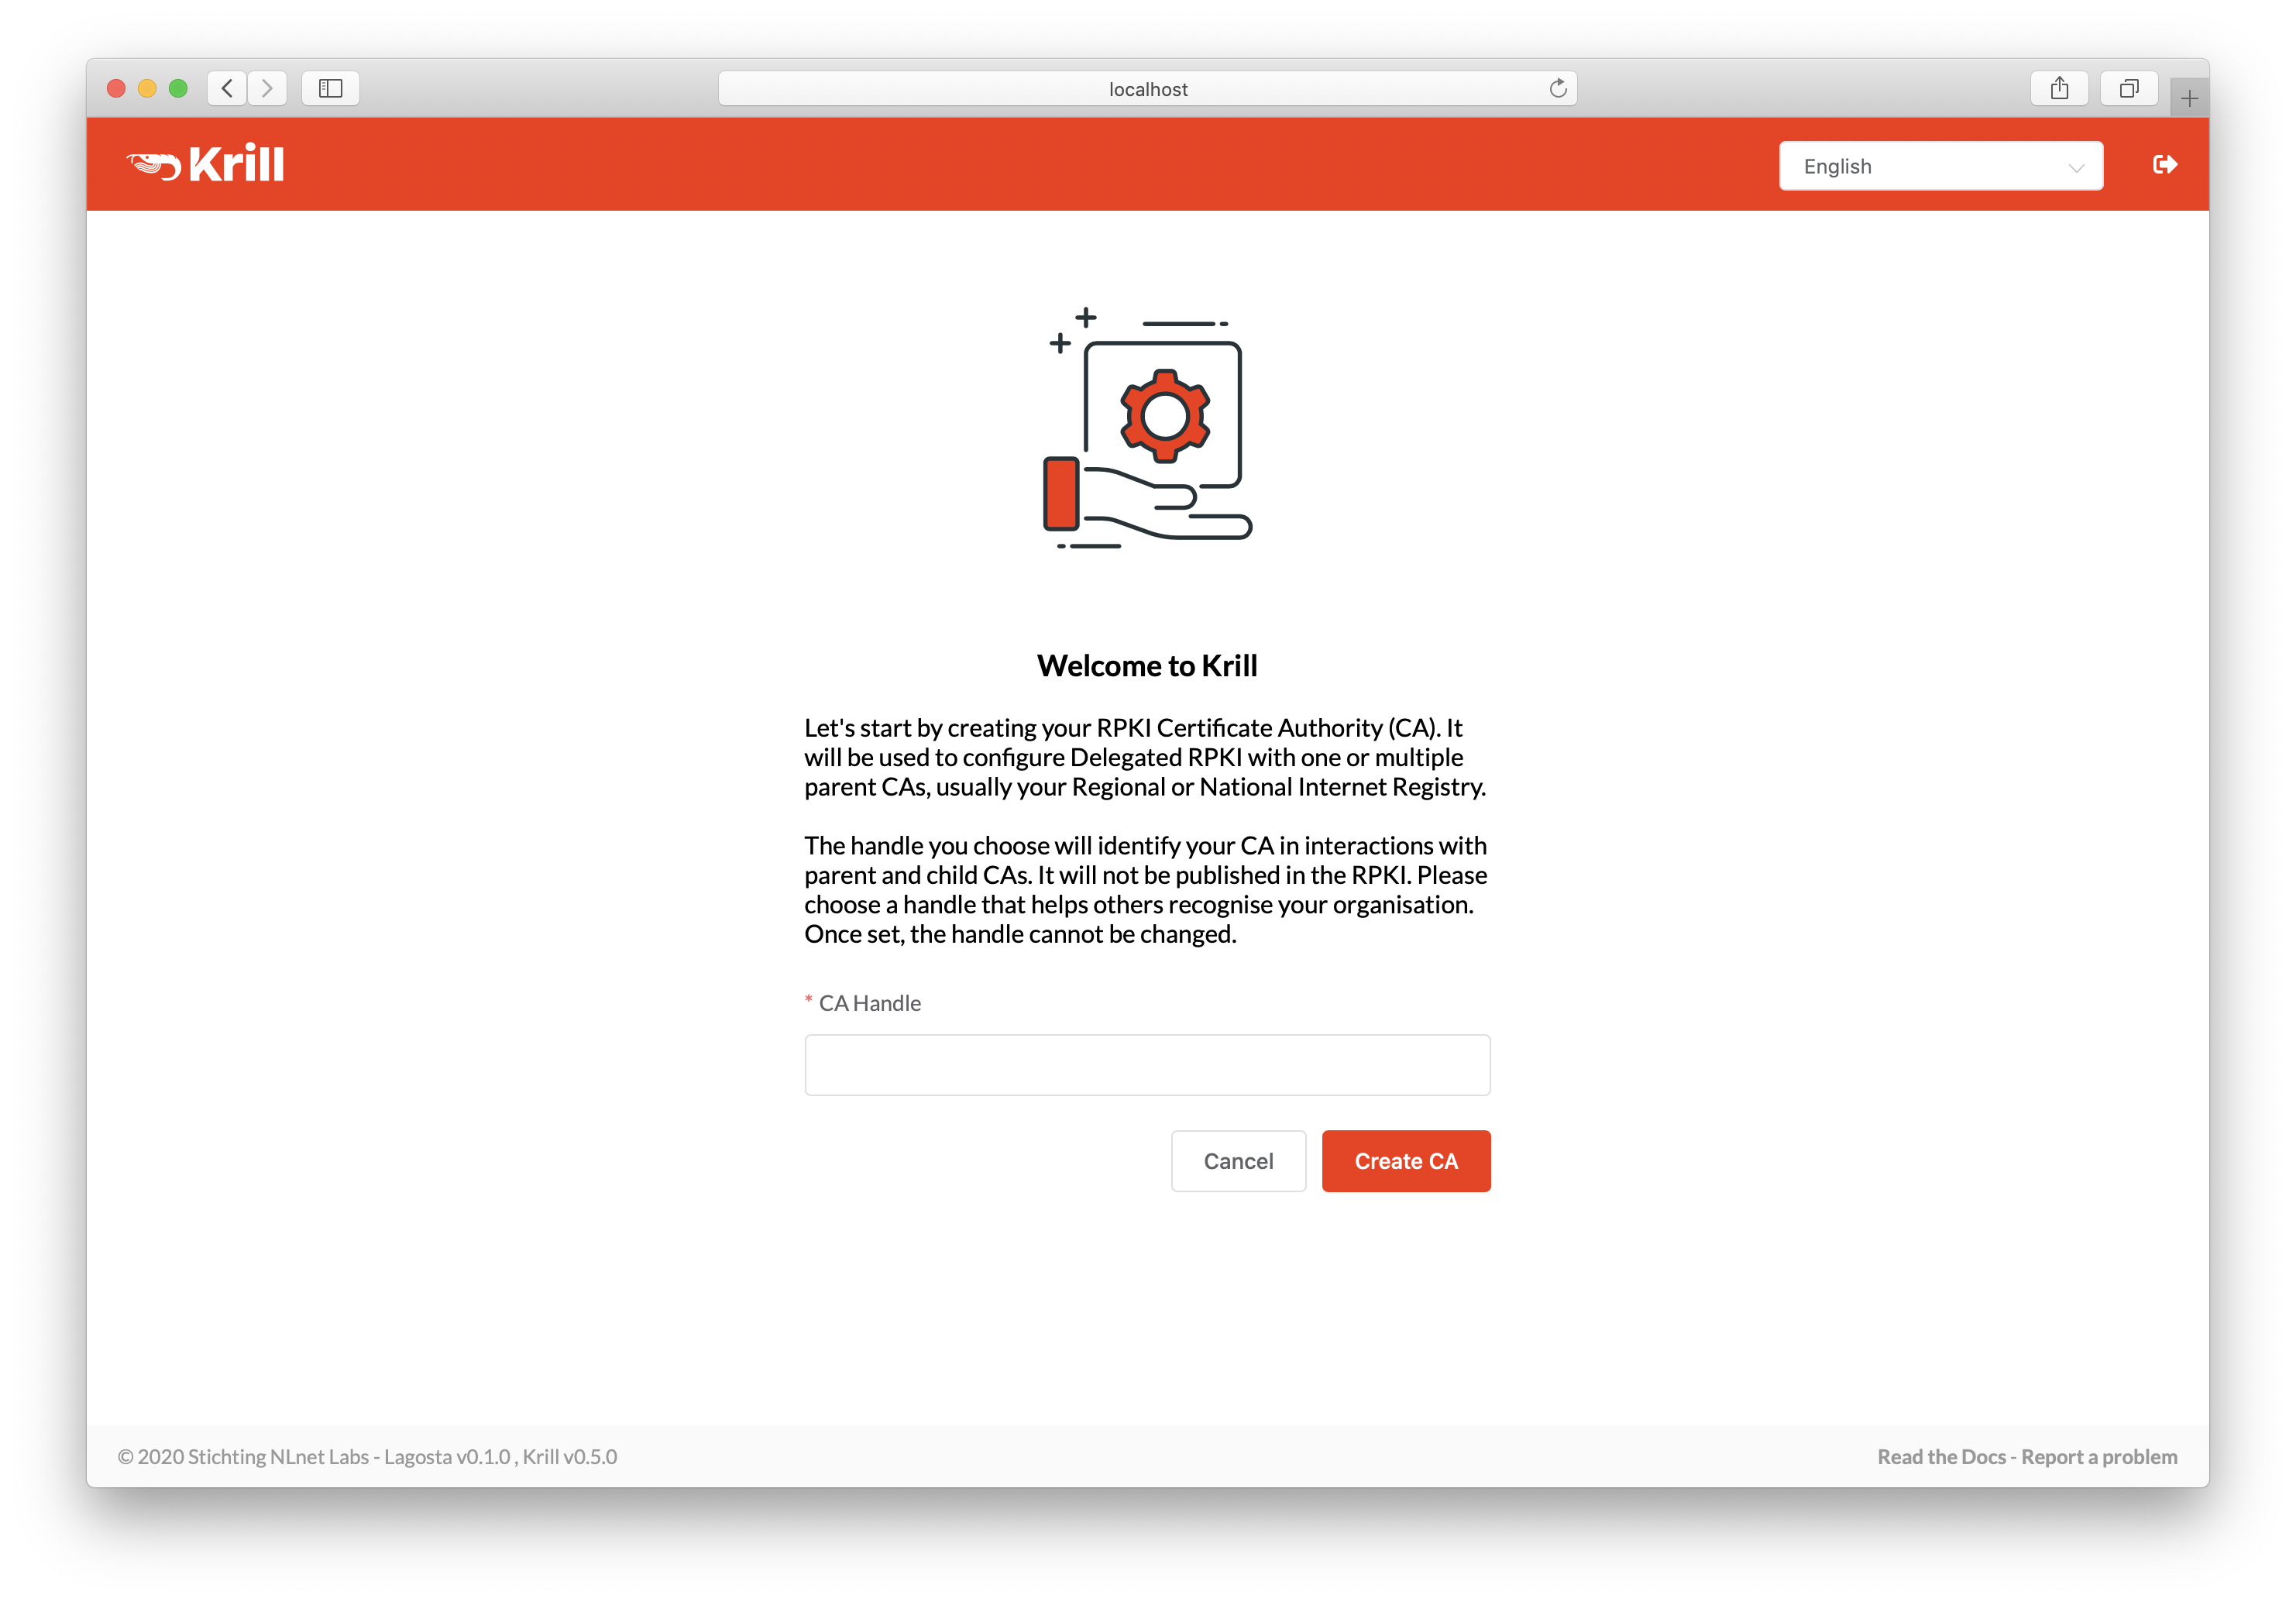
図 14 Enter a handle for your Certificate Authority
Repository Setup
Before Krill can request a certificate from a parent CA, it will need to know where it will publish. You can add a parent before configuring a repository for your CA, but in that case Krill will postpone requesting a certificate until you have done so.
If you are using a third party repository, copy the publisher request XML and supply it to your publication server provider.
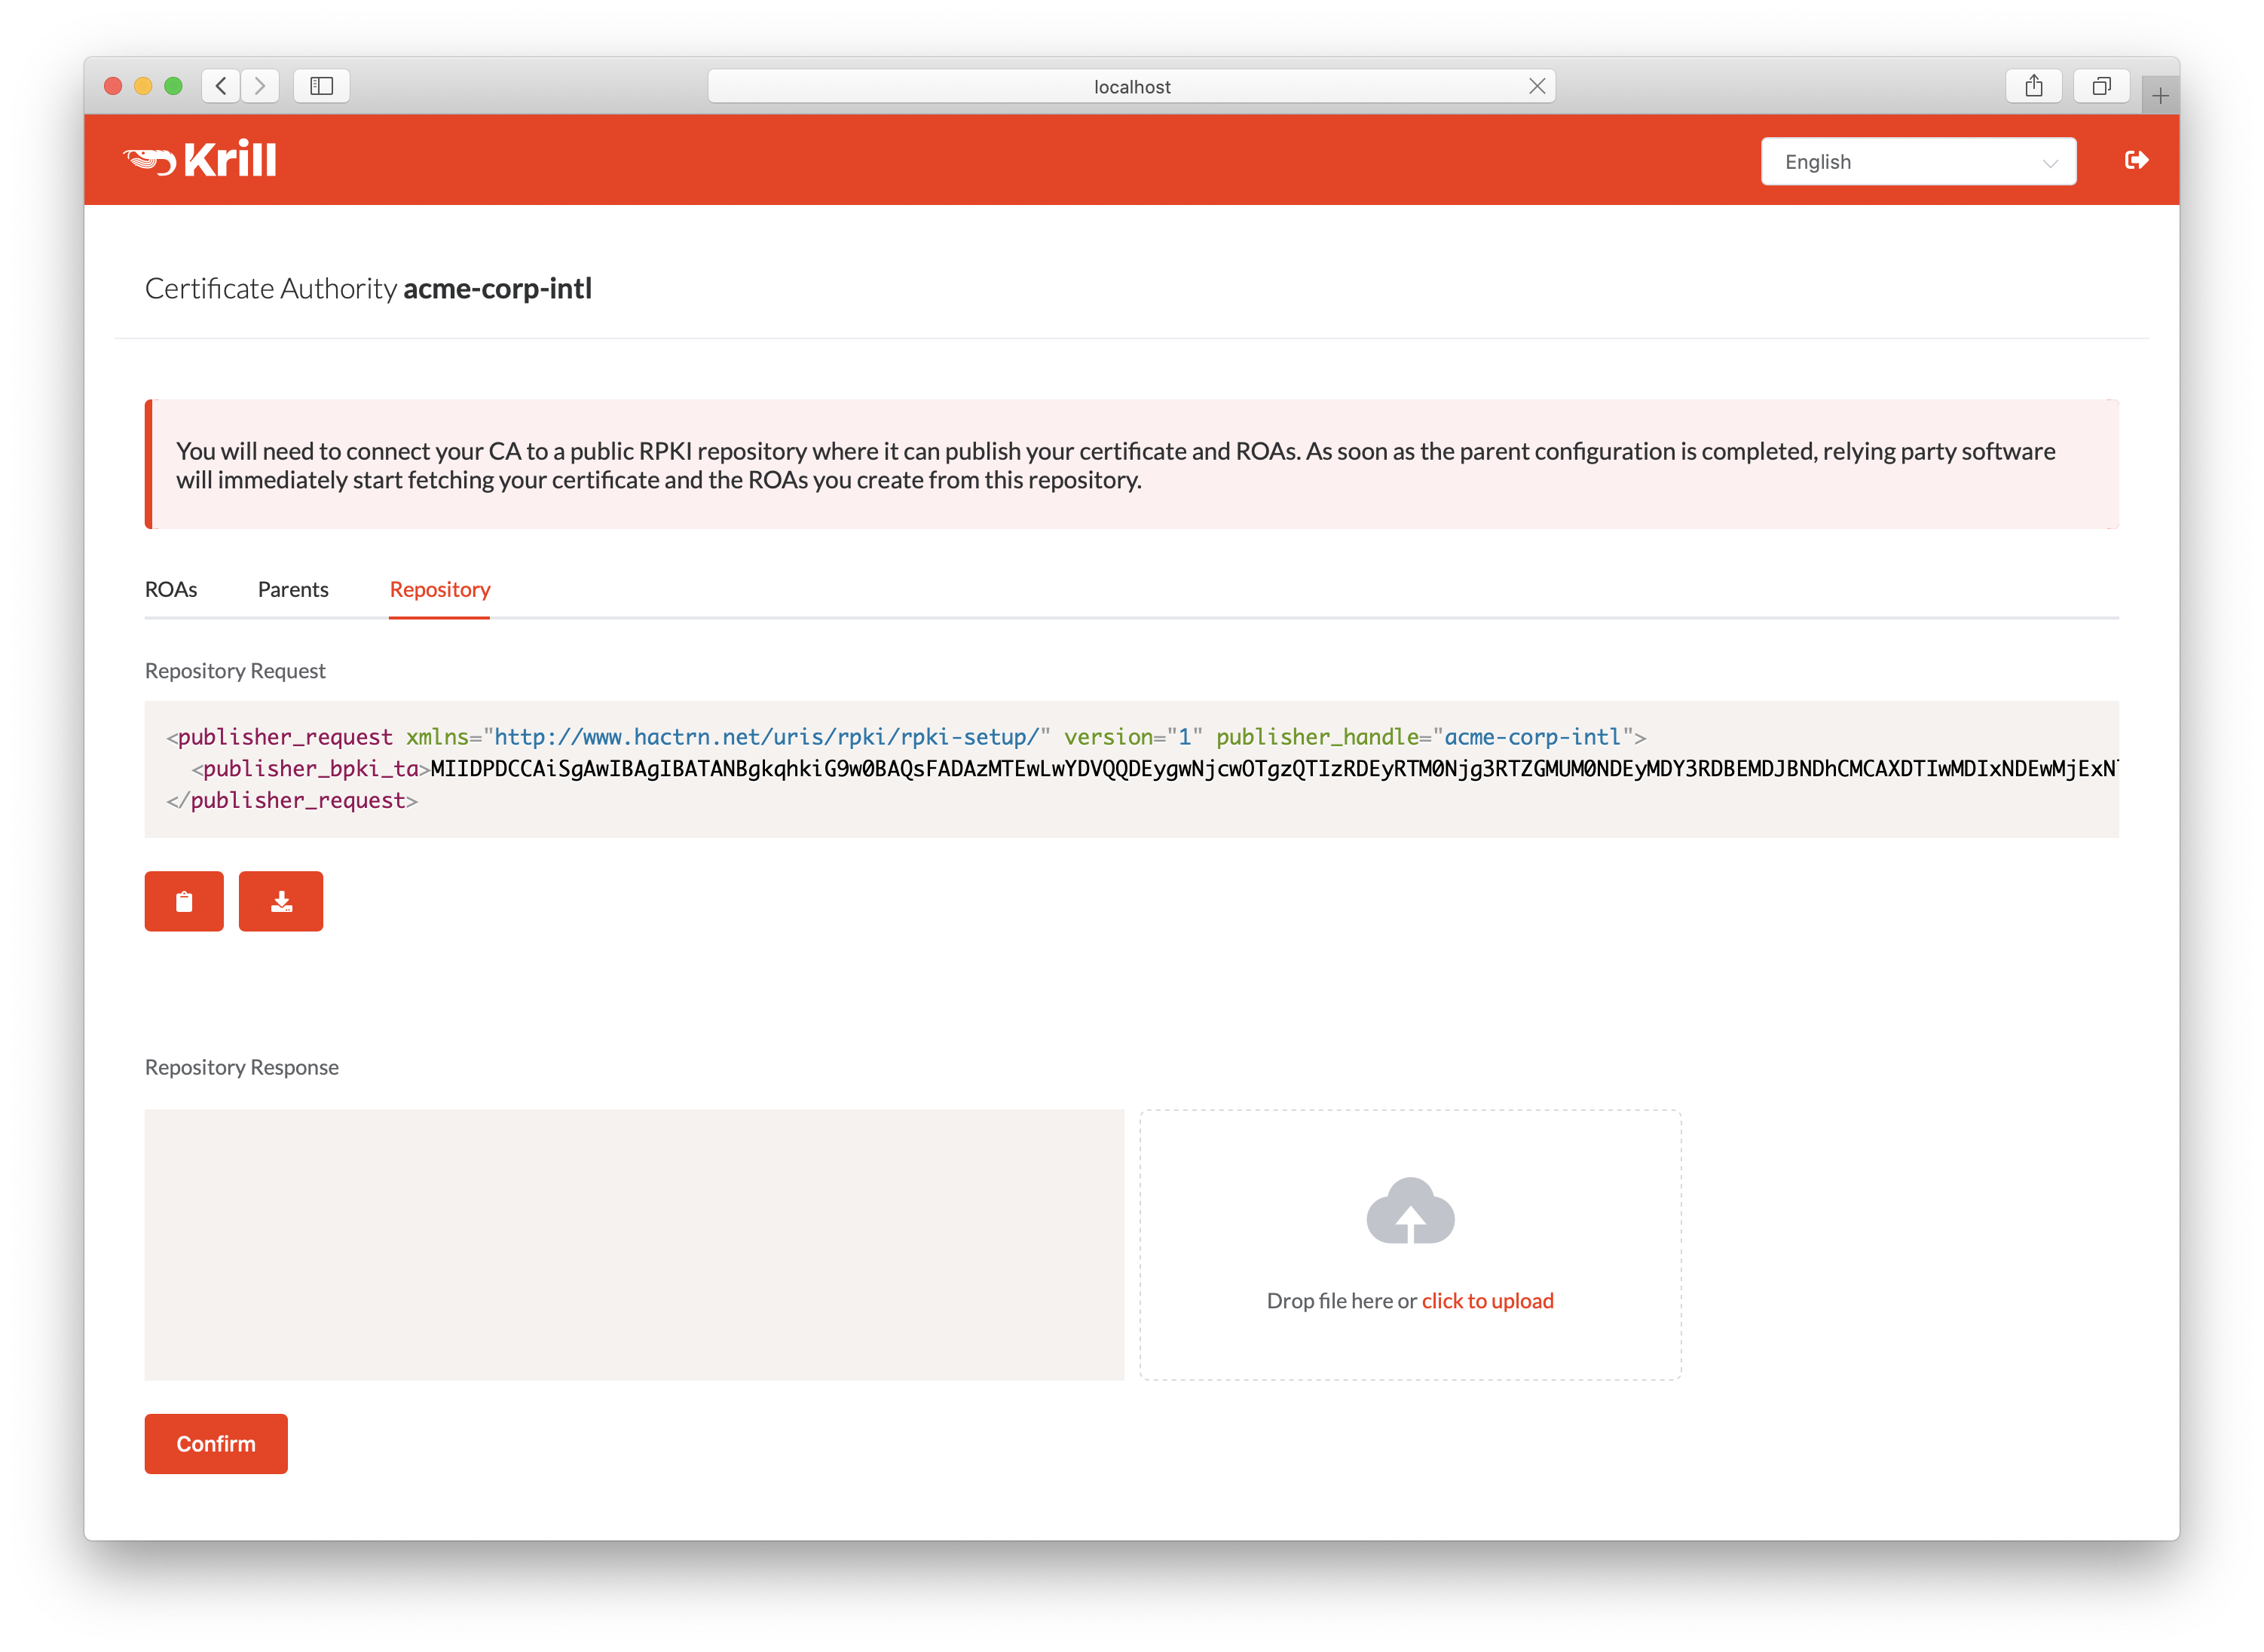
図 15 Copy the publisher request XML or download the file
Your publication server provider will give you a repository response XML, which you need to paste or upload.
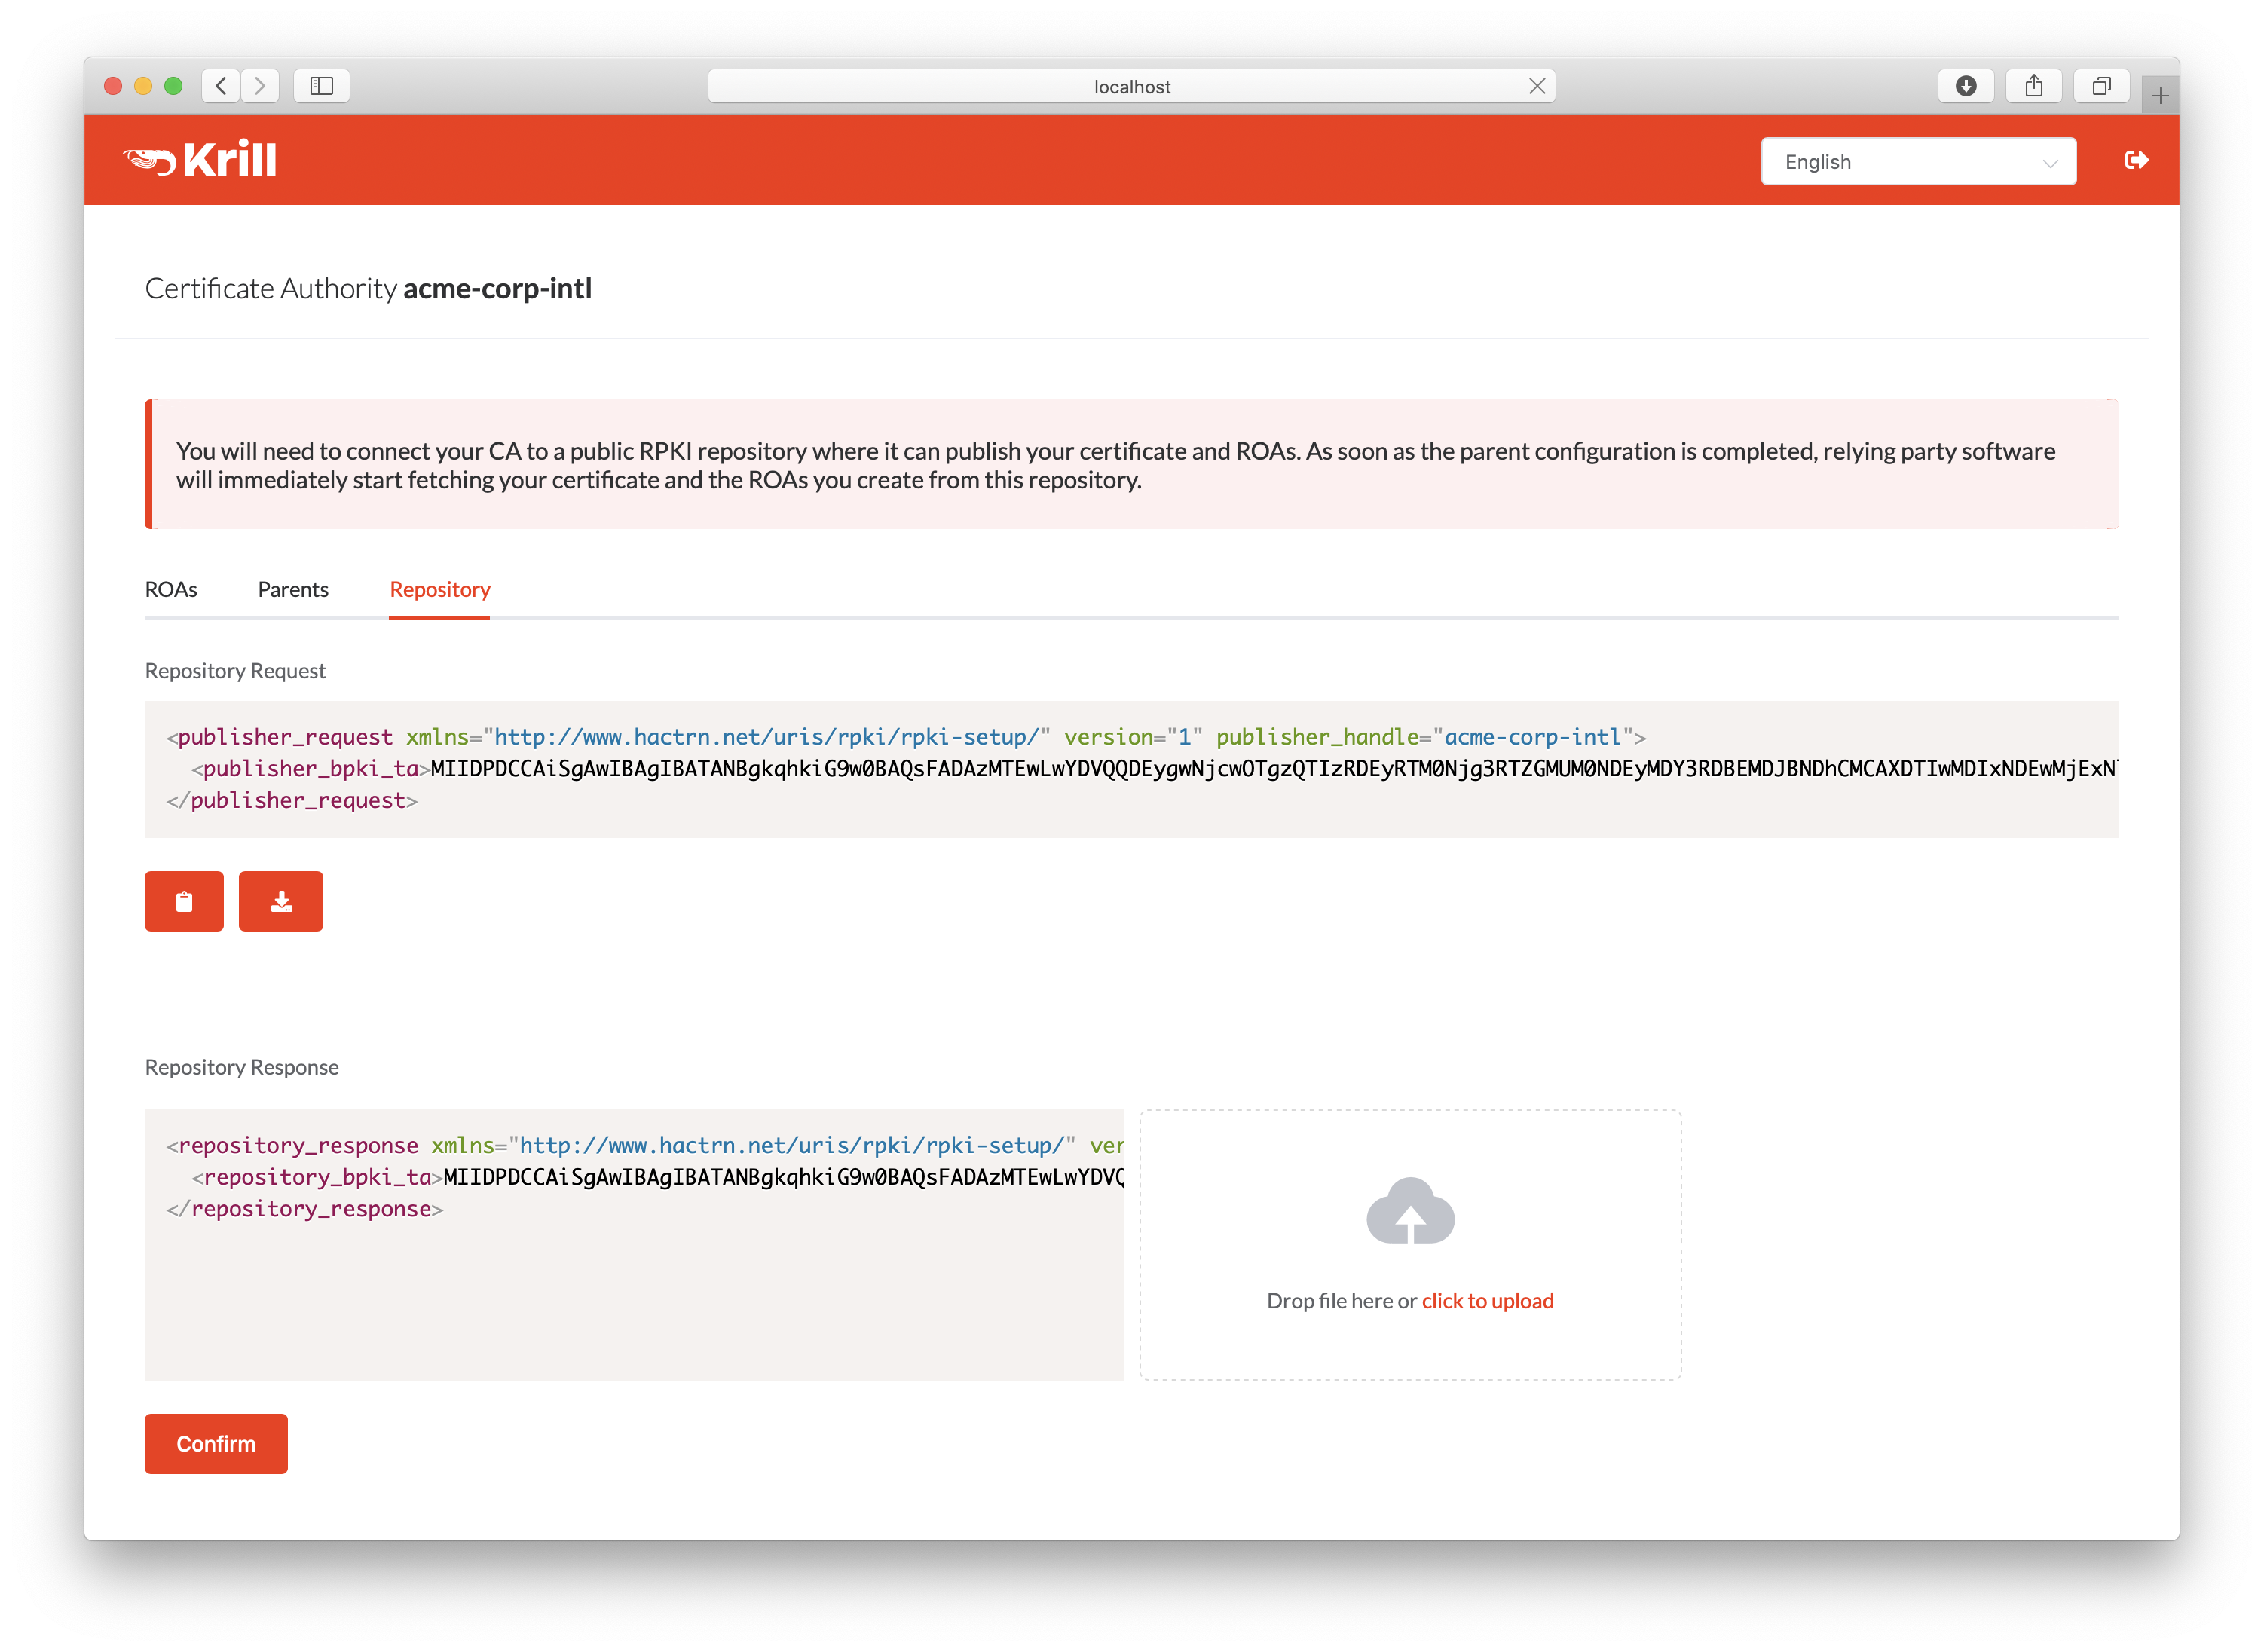
図 16 Paste or upload the repository response XML
Alternatively, if you configured the embedded Publication Server using the CLI, this page will simply show your repository details.
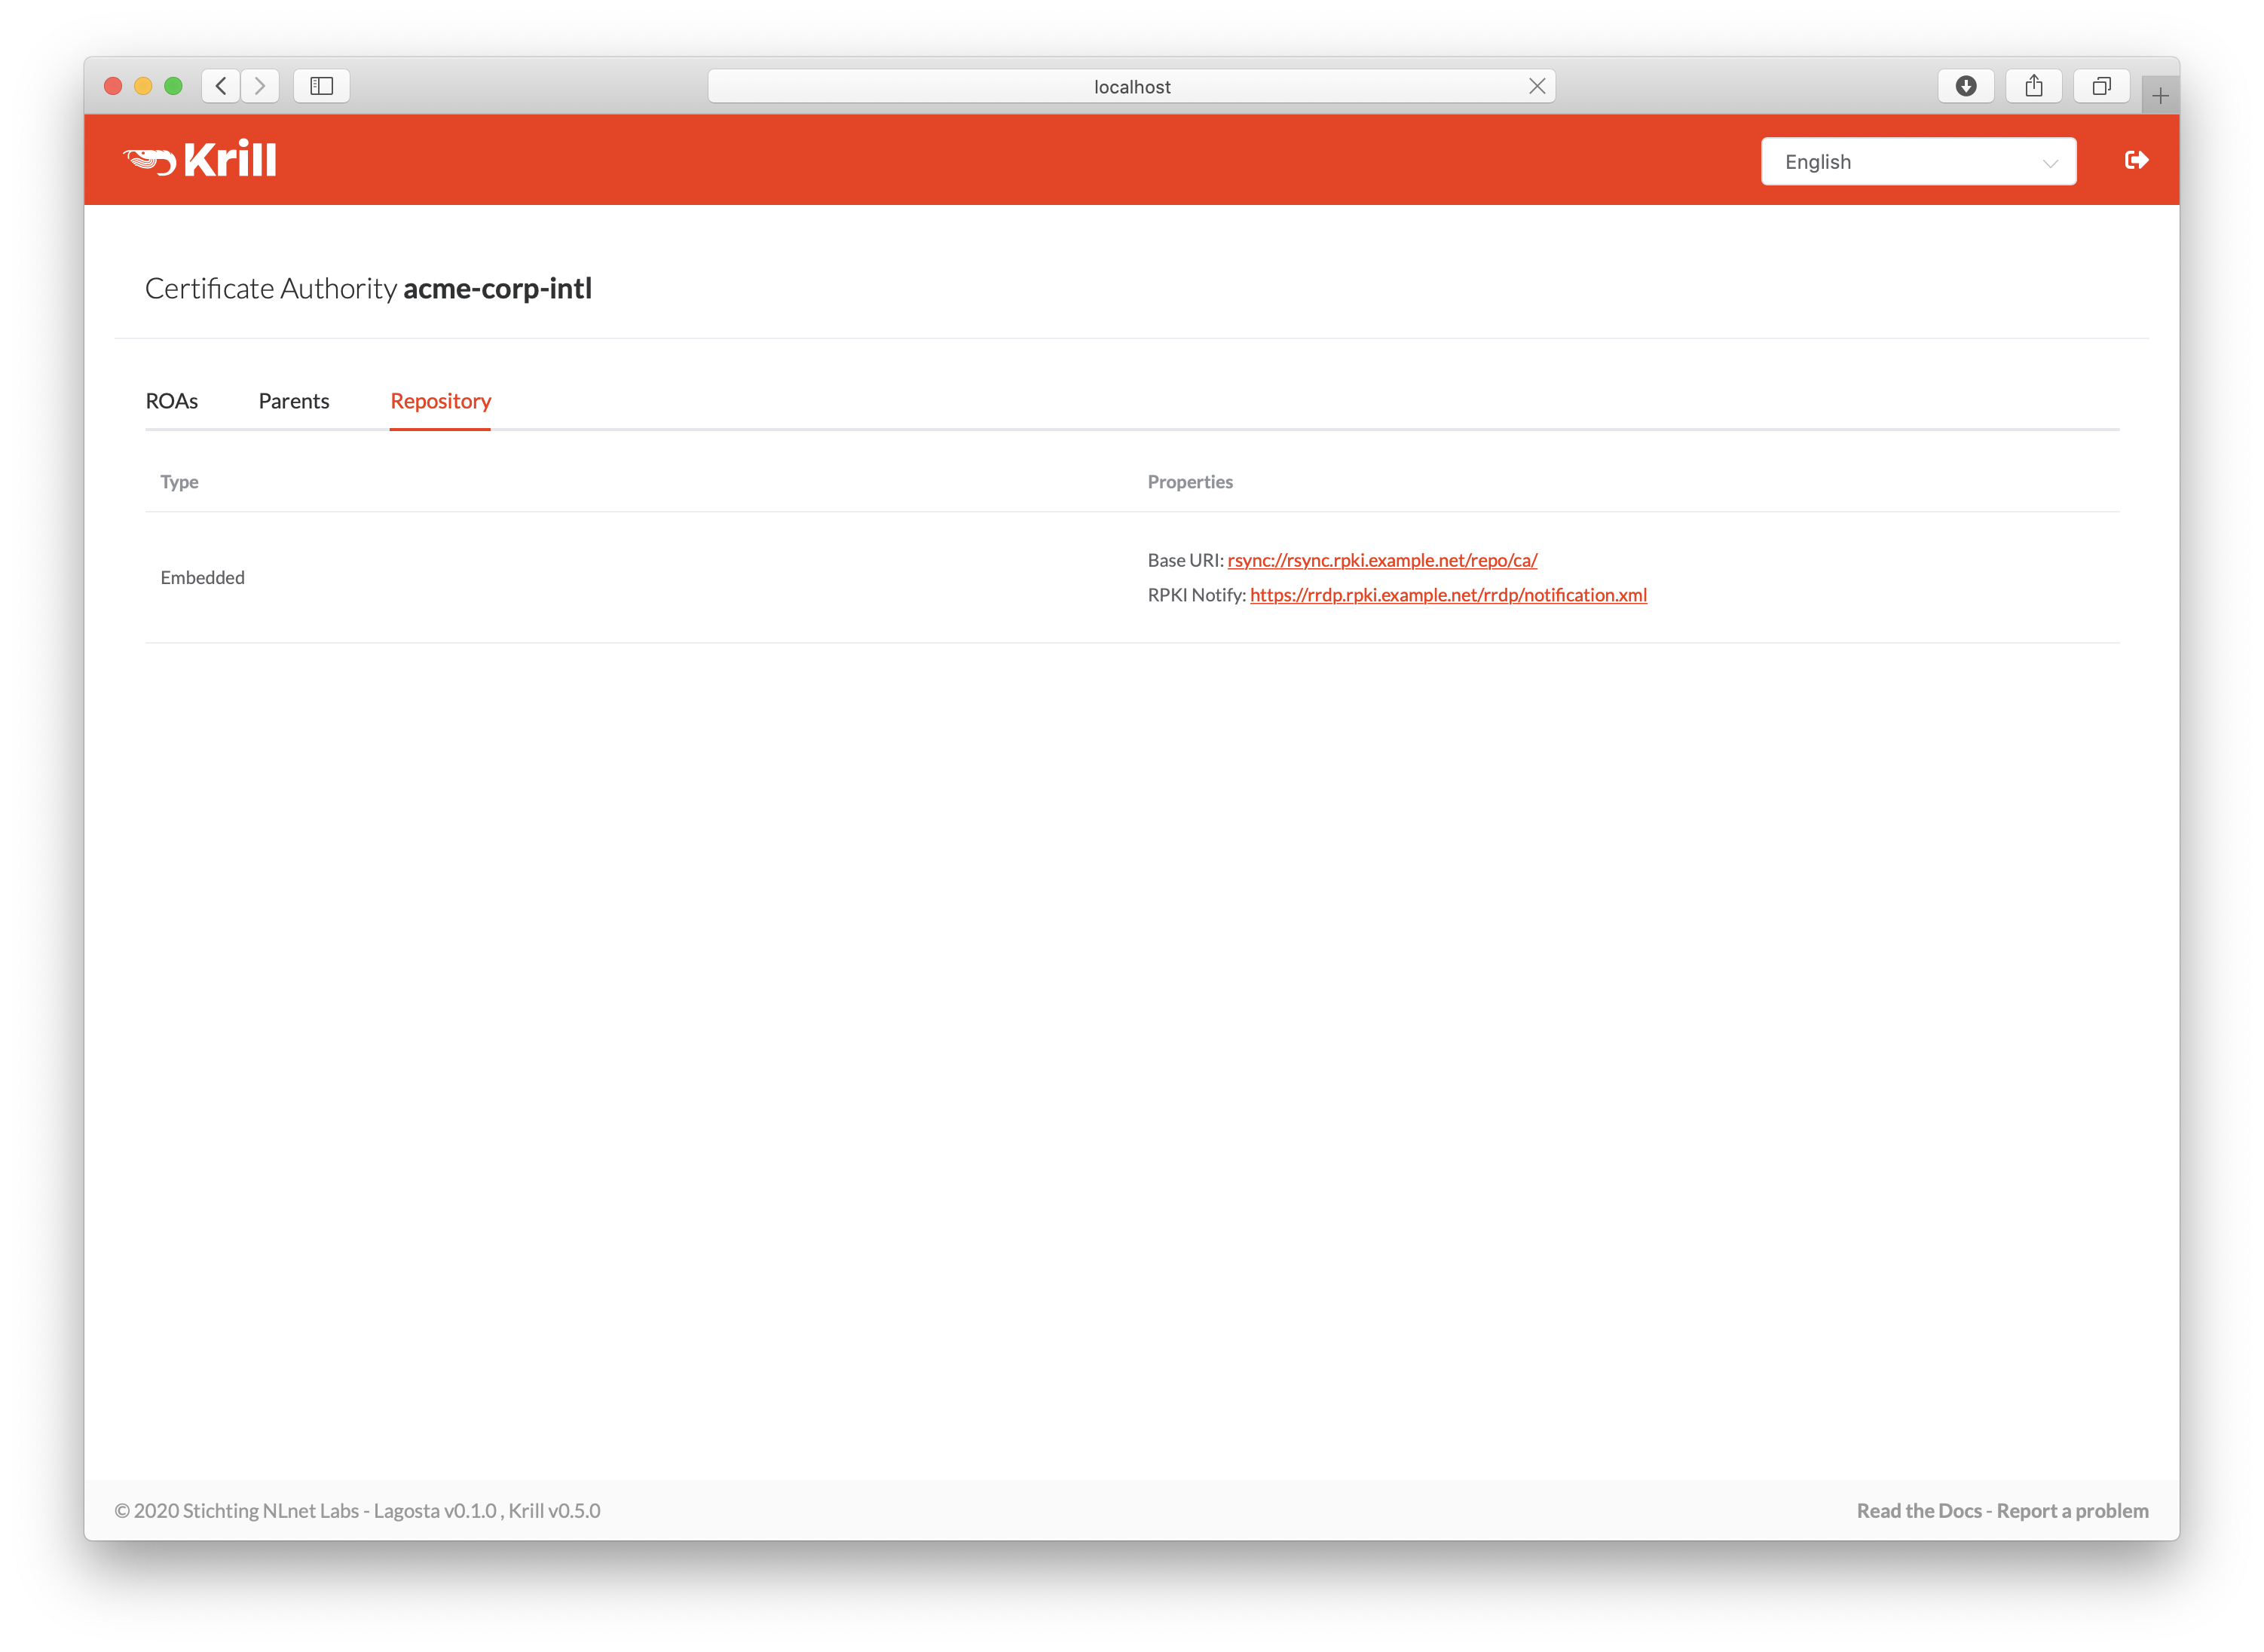
図 17 Embedded repository details
Parent Setup
After successfully configuring the repository, the next step is to configure your parent CA. Copy the child request XML and provide it to your parent, i.e. your RIR or NIR.
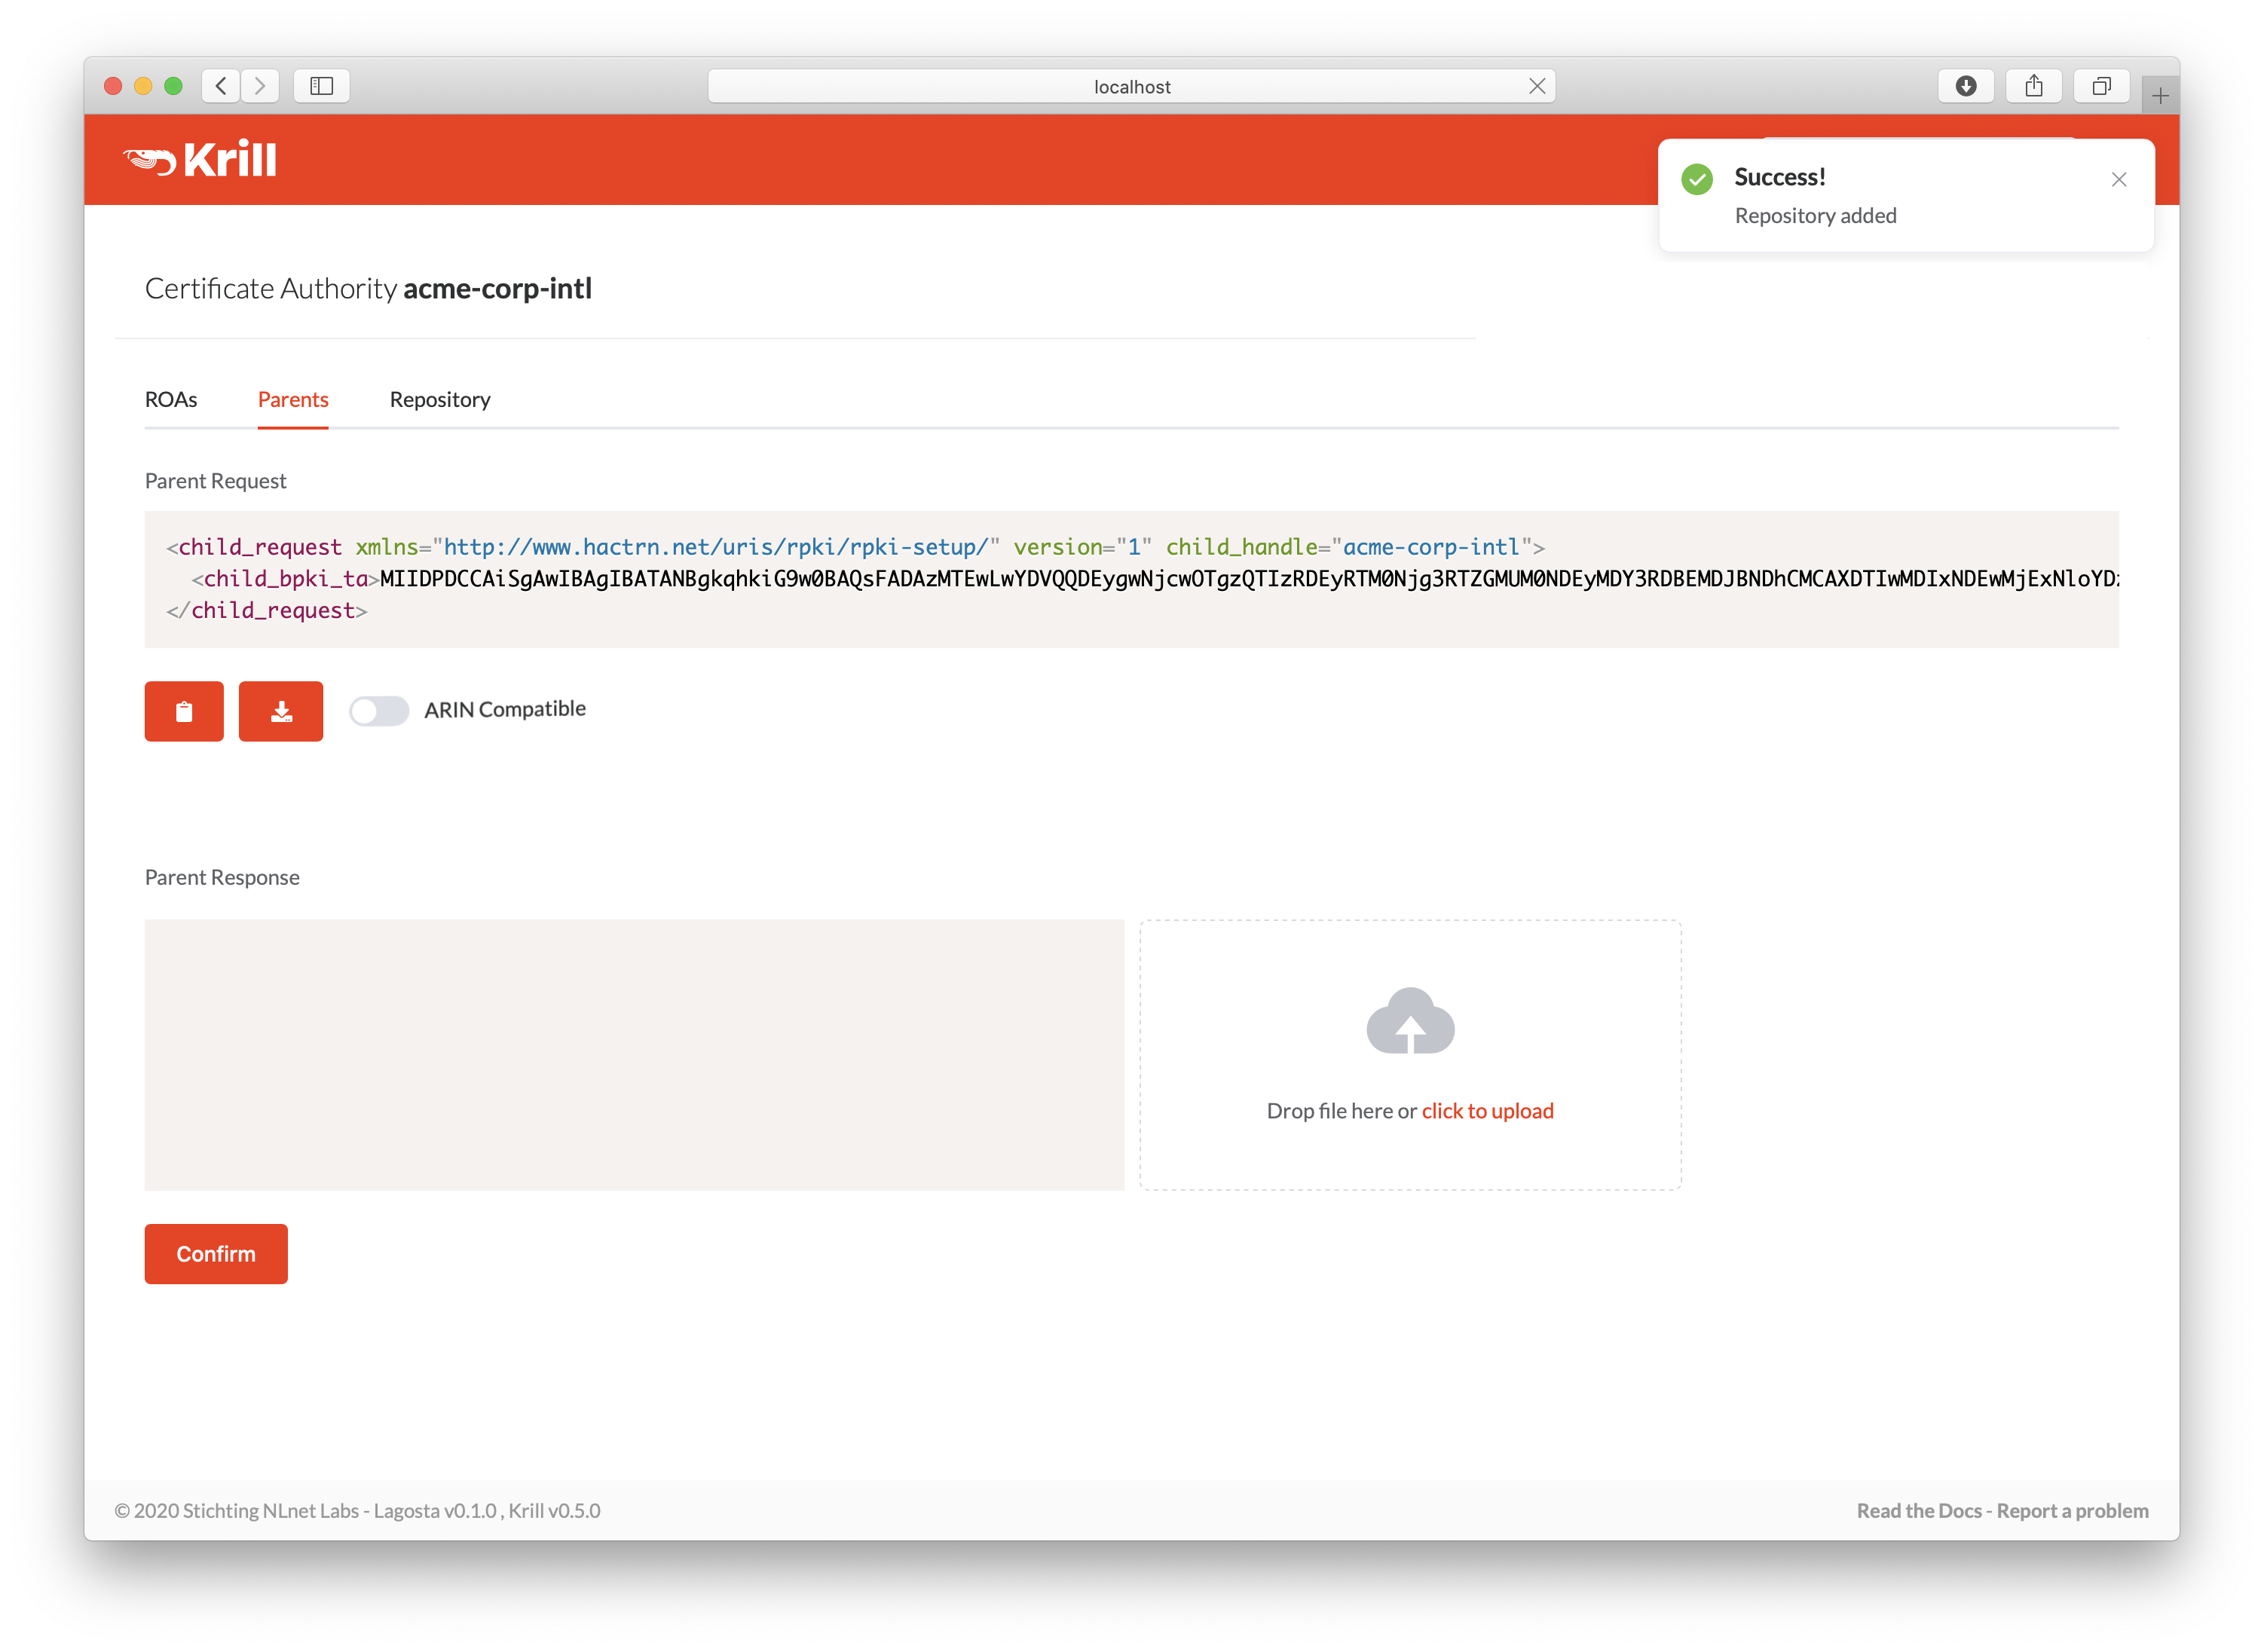
図 18 Copy the child request XML or download the file
Your RIR or NIR will provide you with a parent response XML, which you need to paste or upload.
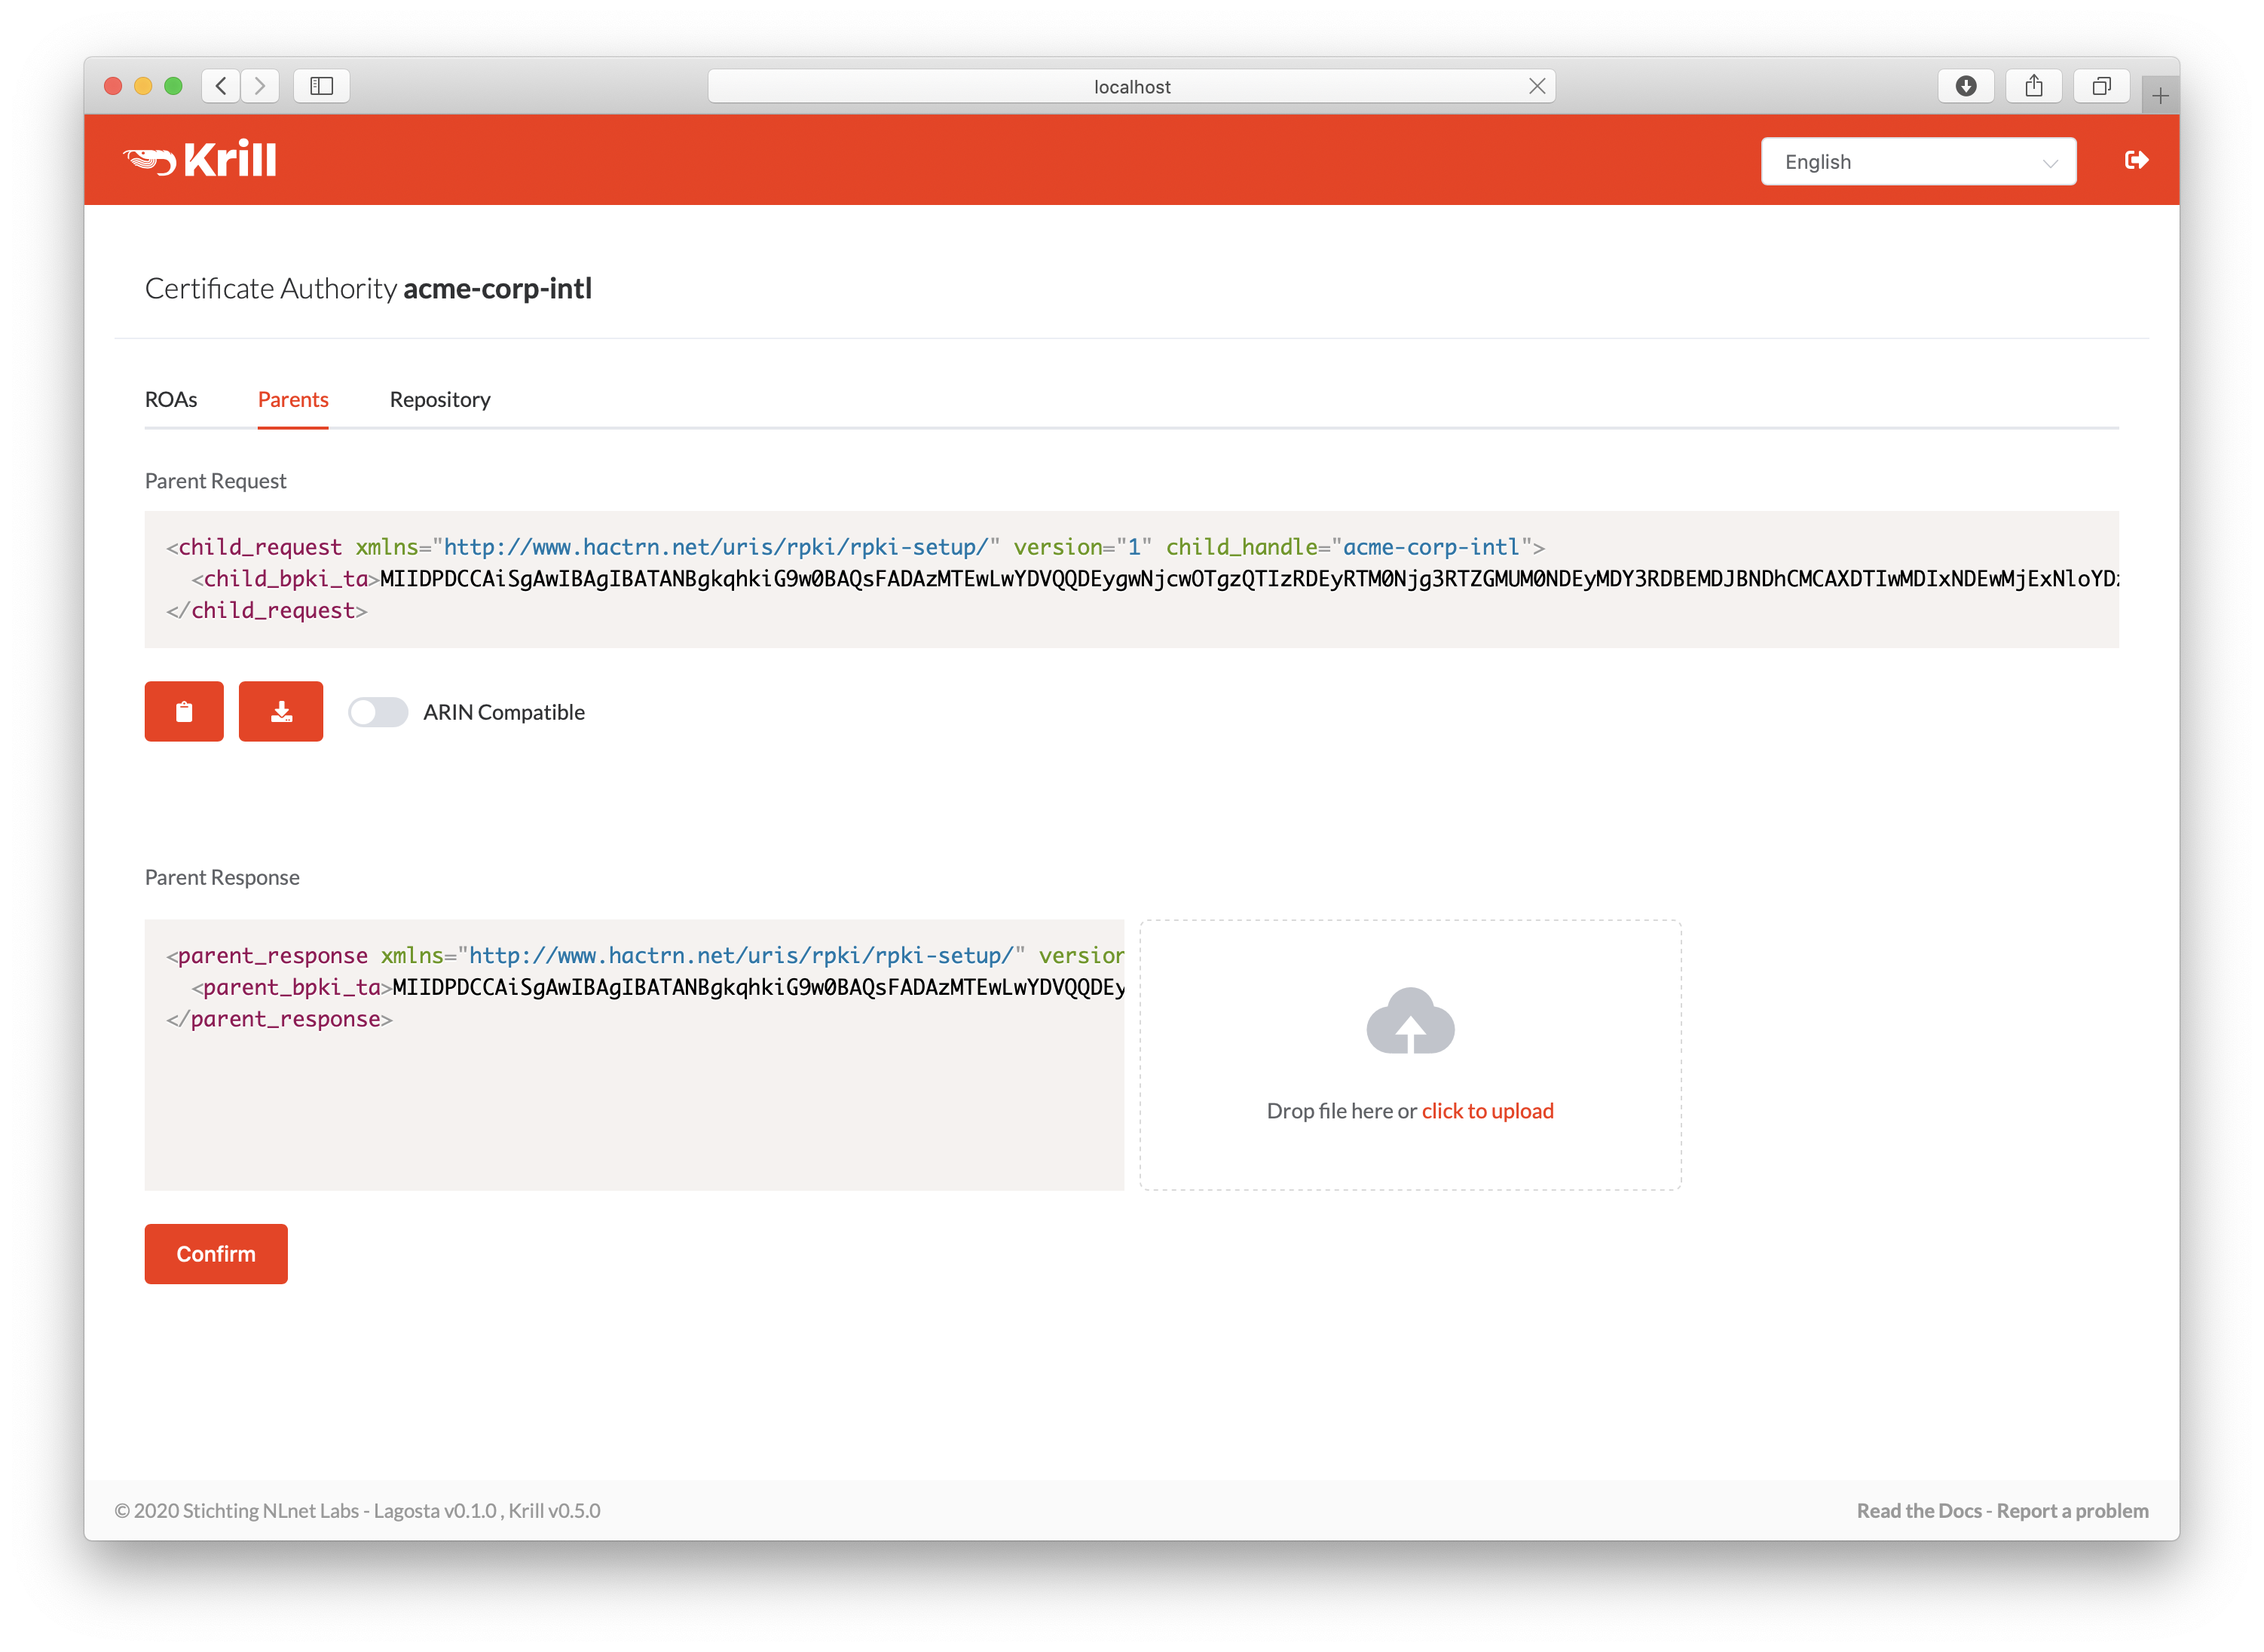
図 19 Paste or upload the parent response XML
ROA Configuration
After successfully setting up the parent exchange, you are now running delegated RPKI. You can start creating ROAs for the resources you see in the pane on the right.
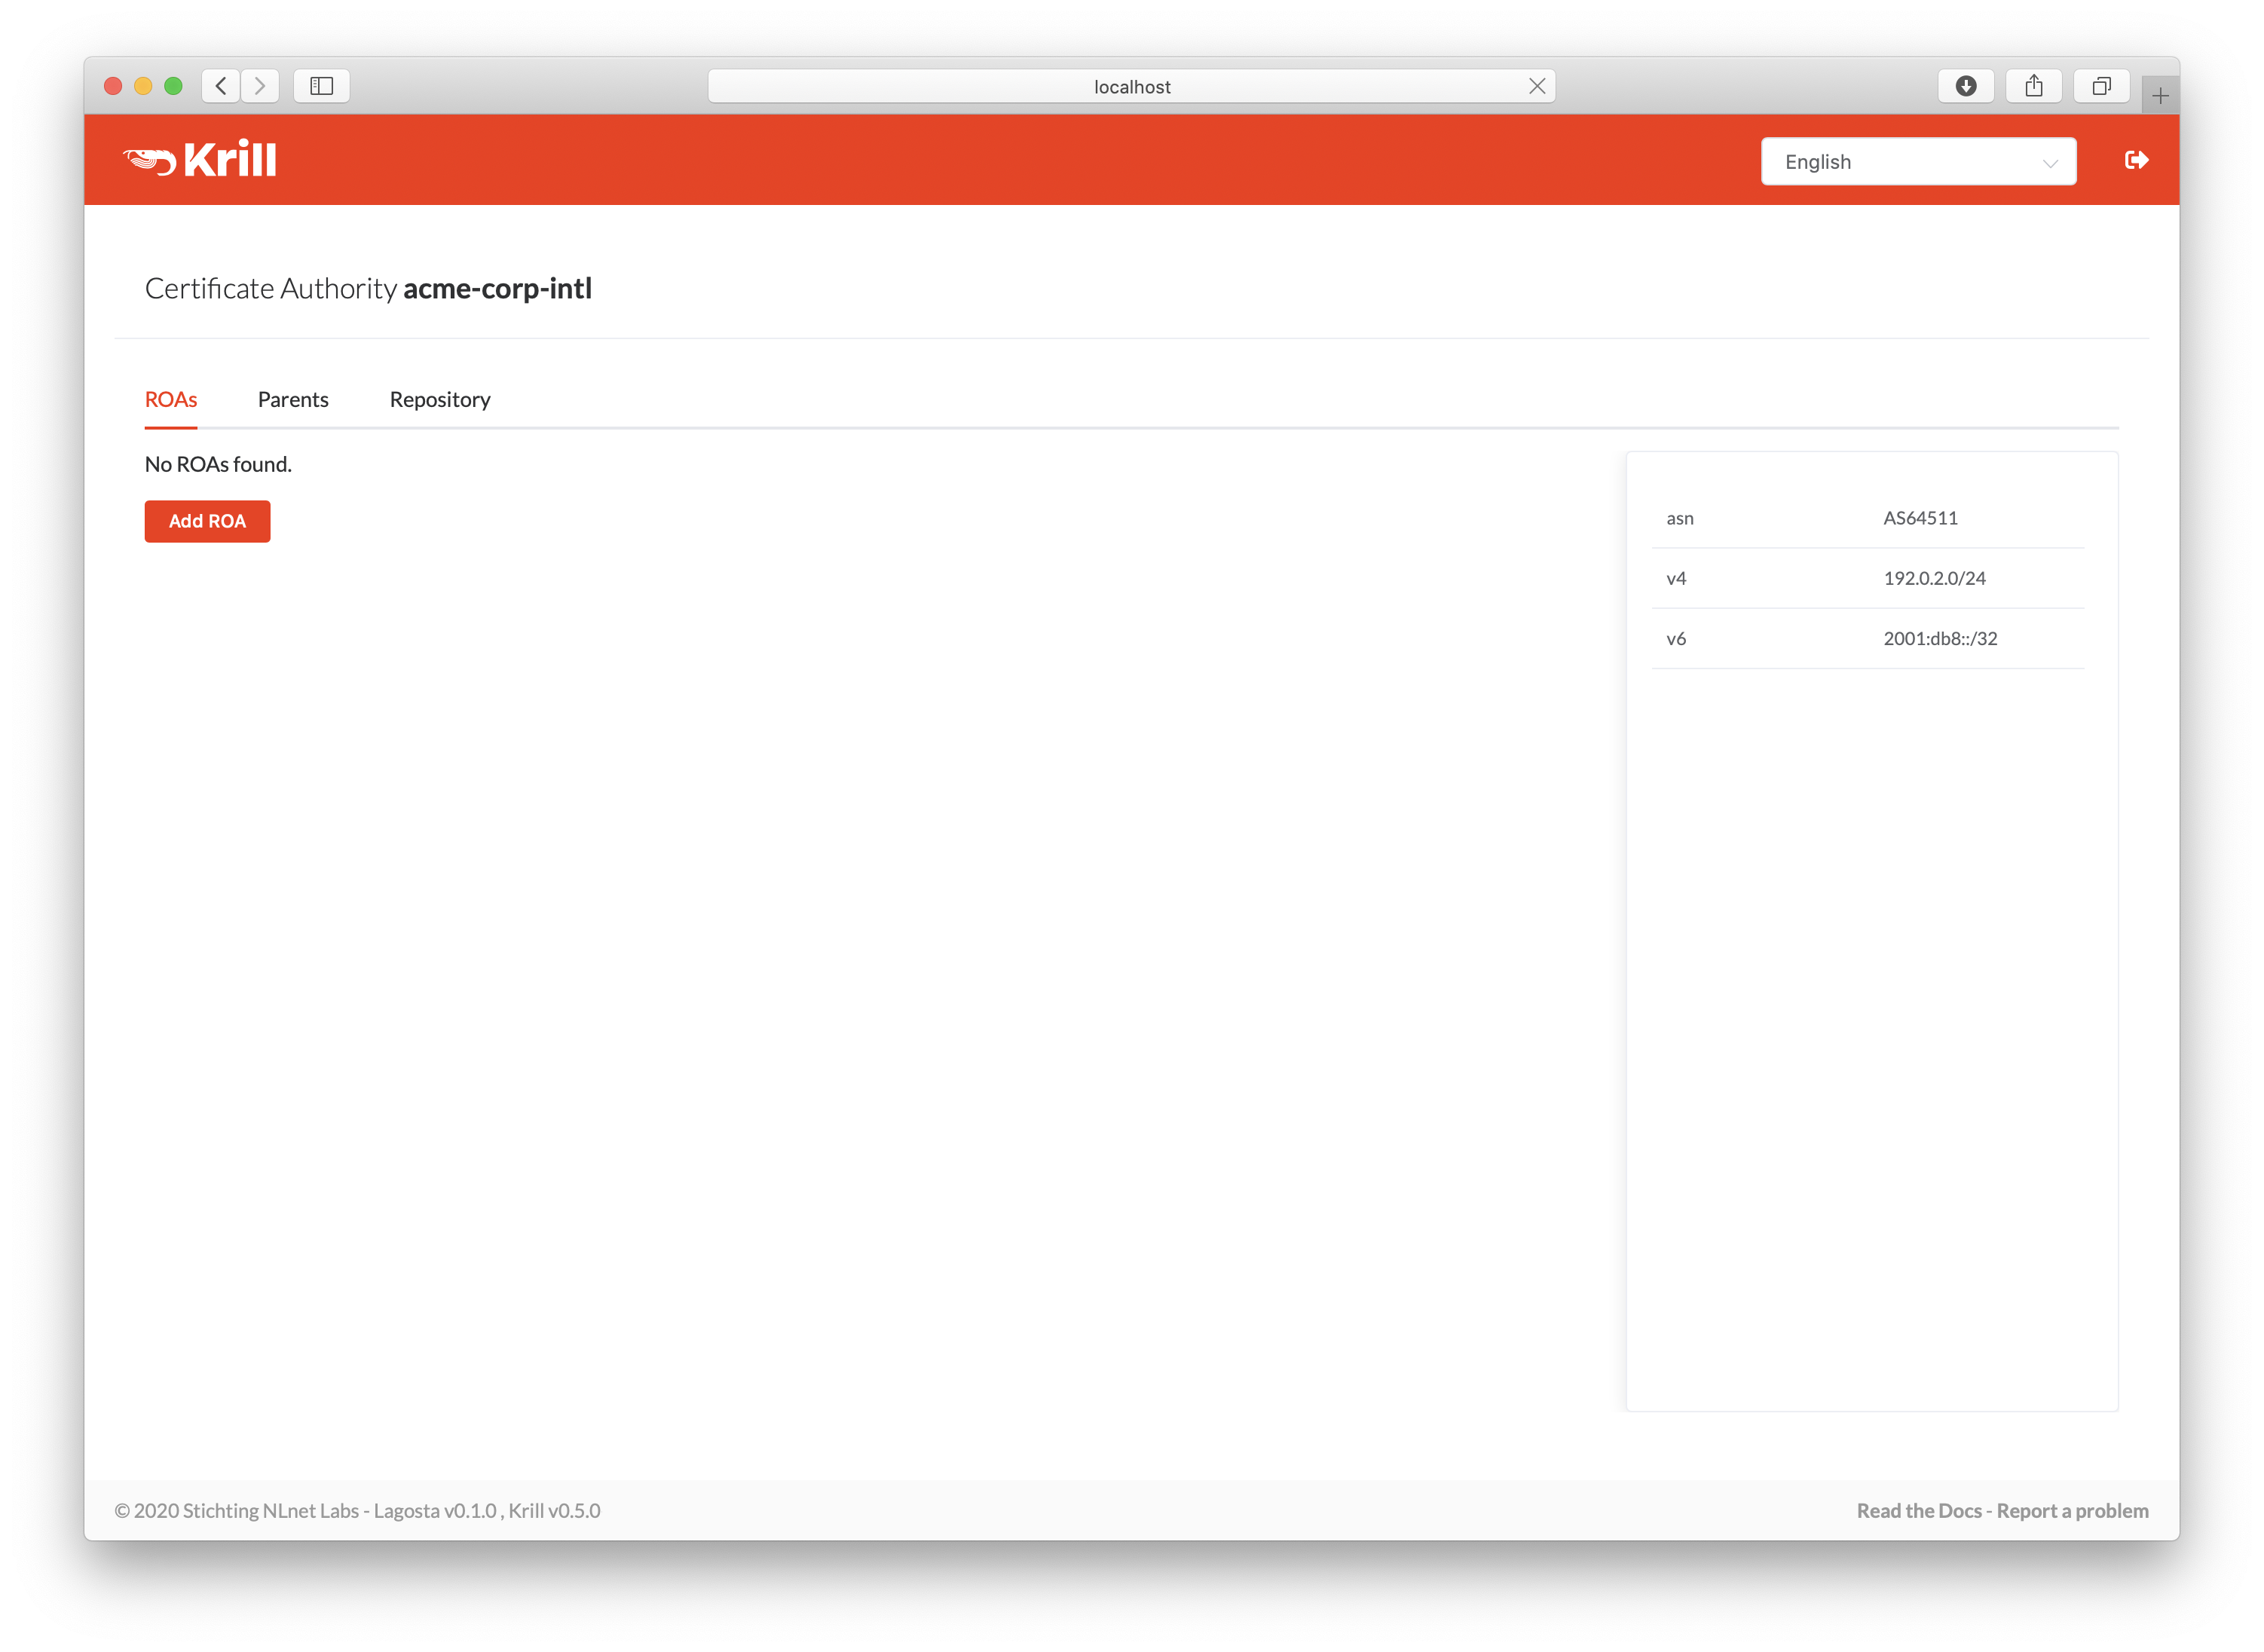
図 20 The ROAs screen displaying all resources and configured ROAs
Click the Add ROA button, then fill in the authorised ASN and one of your prefixes in the form. The maximum prefix length will automatically match the prefix you entered to follow best operational practices, but you can change it as desired.
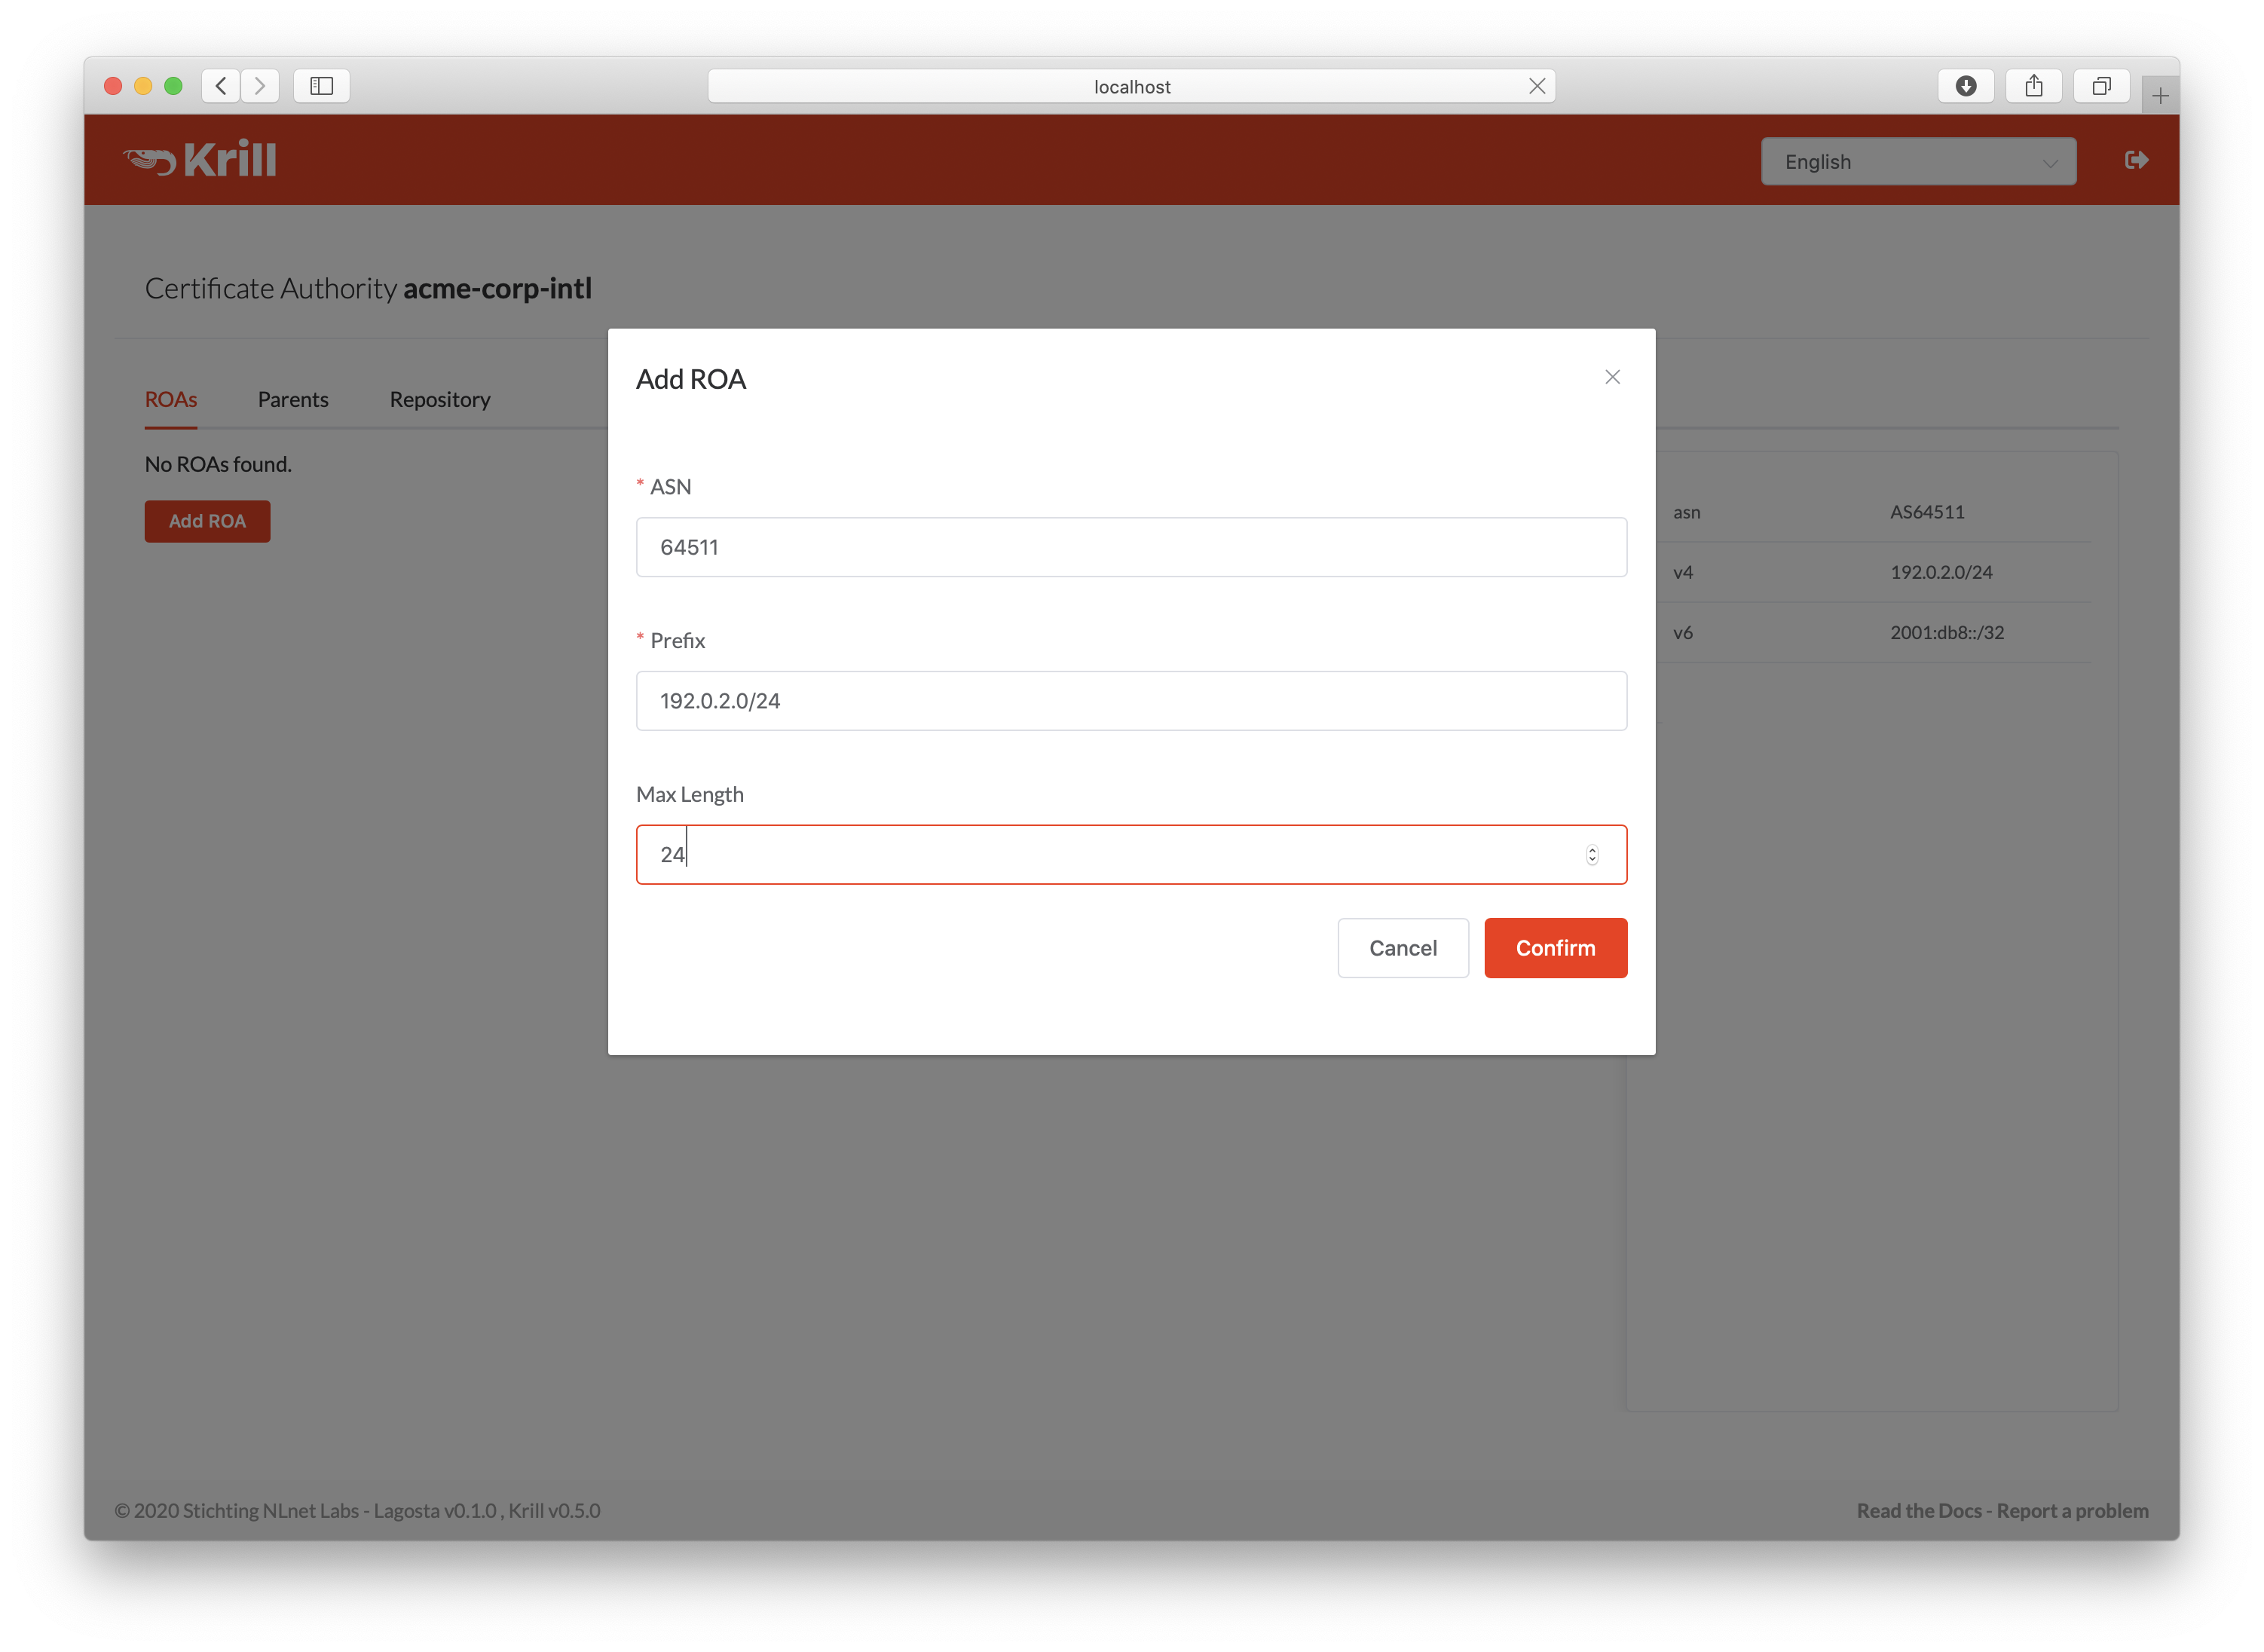
図 21 Adding a new ROA